


Now that the stone has been cut and polished (did you miss seeing that, have a look here), it's time to set it into something wearable. After all, that's how I got into all this, because I wanted a way to show off these beautiful rocks and not just let them sit on the display shelf collecting dust.
I should point out before you read this that I'm entirely self-taught in metalwork. By self-taught, I mean that I haven't had any standardised training. I've learned how to do this from books, magazines, videos and the internet. And learning by trial and error. LOTS of trial and error. It's the long windy path of learning, and I often think (or rather, I know!) that if I did workshops and courses I would learn heaps of tricks of the trade that would ease my journey (and save me oodles of time and money). But I can't dedicate the time needed to coursework at this stage in my life, so I tinker away and read and research and voraciously consume all the information that I can find. So if you read this, and you are a metalsmith, please, feel free to point out an easier path, an alternative way, a better way for any of the steps!
This is also not a 'how to'. I'm not endeavouring to teach anything here. This is simply a little peek into my process, for my customers and anyone else who might be even a little bit interested.
So, without any further ado….
PART 2 - FROM SHINY CABOCHON TO WEARABLE ROCK
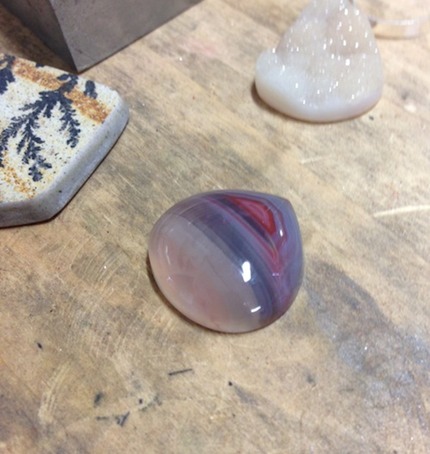
The previous post finished with the above piece of Queensland agate, all shiny and ready to collect dust on the display shelf. Nooo! Hurry, before my husband can nab it for his collection, I'd better get it into a wearable setting, quick smart! Onto the workbench it goes.
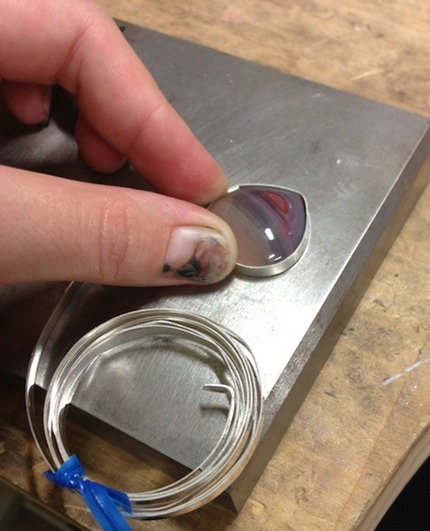
First it needs a bezel. This goes around the stone and when the entire setting is finished, is pushed in and down and holds it firmly in place. Wrap the fine silver around the stone to get the measurements, cut it so that the ends meet true, and then they need to be joined together.
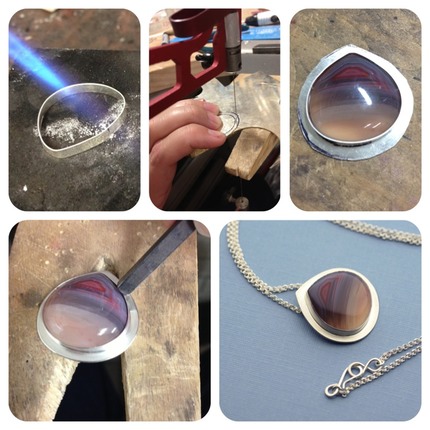
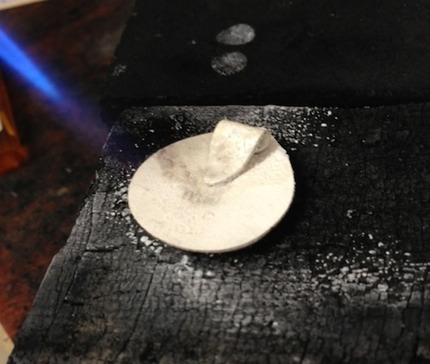
To do that, it's off to the soldering station. That's where all the hot stuff is done and it's almost time to get the torch out (I love playing with fire, is there anyone out there who doesn't?). Onto the charcoal block, add some flux (that's the white paste on the silver there. It helps the solder run) and if you look closely, there's a teeny tiny piece of hard solder sitting under the join on that-there bezel.
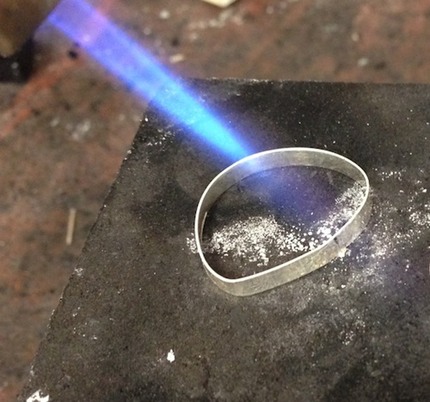
On with the torch, heat the joint and the solder flows along the seam, completely and securely closing it. Bezel closure - success! Quench in cool water, and pickle (a mild acid bath) to clean.
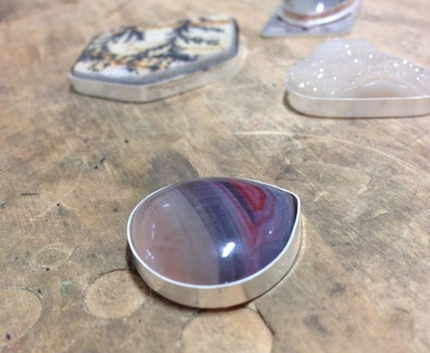
Check that the stone fits the newly-sealed bezel. Yup, it's nice and snug. If it isn't, it's back to the soldering station, heat again to unseal it, re-fit and do it all again. I've re-done more bezels than I can count. The fit is really really important. If it's too loose, the stone won't be secure. Too tight and, well, the stone doesn't fit in.
Next, we need a backplate. I played around with a few designs but because the stone's colours and patterning are so subtle and subdued, I chose the simplest of settings that gives the stone precedence. Because it's all about the stone here at Rocknwrap Central.
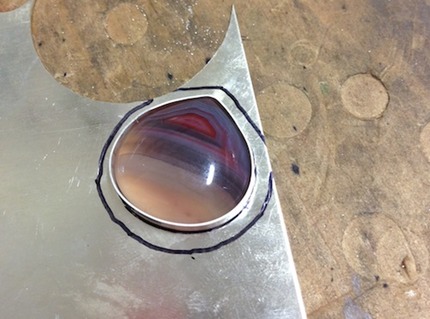
Mark out the backplate shape on a sheet of sterling silver. Yup, I can't draw for nuts.
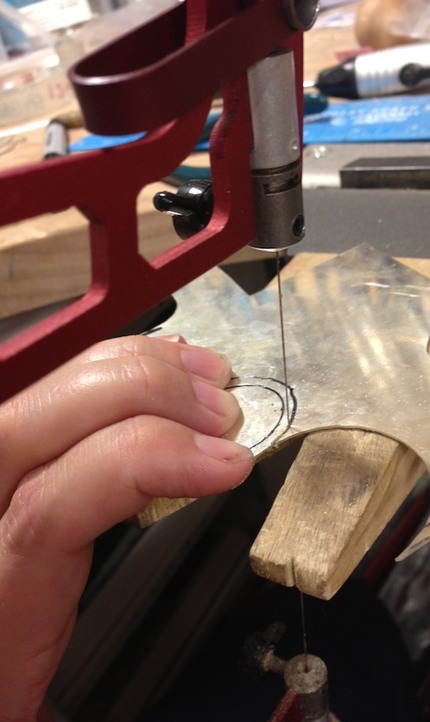
And saw it out. I really enjoy sawing, it's very cathartic. I can't do very smooth lines yet, I need oodles more practice.
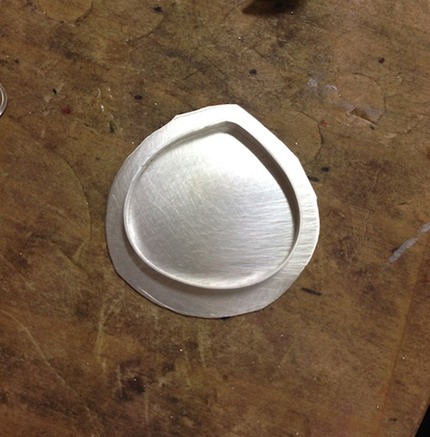
A pretty rough backplate sawn out (see what I mean about cruddy smooth lines and needing more practice?). Sit the bezel on the top to check it out, yep, it looks okay. Make sure the backplate and the bezel sit flush against each other, give them a gentle sand, and back to the soldering station it goes.
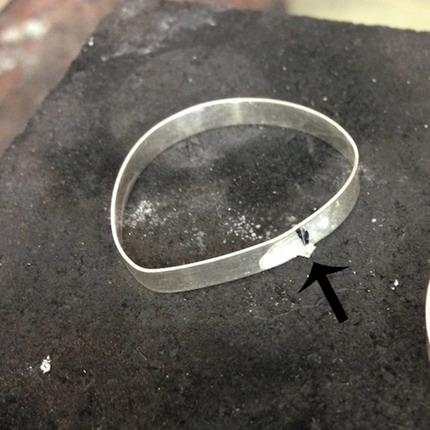
Repeat above process - flux, heat, solder flows to seal the bezel to the backplate. Quench, pickle. check that the seal is complete. *sigh*… there's a bit I missed. Back to the torch, do it again……

Better. The seam is sealed all the way around now. Phew. Check out how manky it looks after it's been fired. Don't fret, the pickle cleans that manky away.
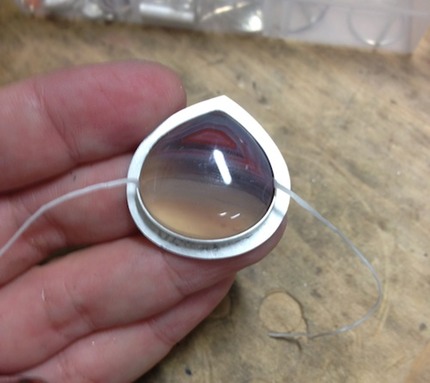
Check the stone fits and that I didn't warp the bezel before soldering it down. Done that too, all it takes is a little bump, fine silver is so soft. Nope, this time it's good. The stone fits like a dream. Oh, and that thread? It's part of my design. Just kidding, it's dental floss, it means that I can lift the stone in and out of the setting while I'm checking the fit without it getting stuck in there. Most stones can't handle heat (especially the temperatures that soldering torches get to) so all the soldering needs to be done before the stone gets set.
Continuing on….
Get the files and sandpaper out and clean up that dodgy sawing. That's a better teardrop shape and the edge is silky and smooth to touch. It's deliberately slightly wonky as the cabochon is freeform and is a little bulgy to one side. So the backplate echoes the shape of the stone.
Now, how are we going to hang this pendant? Did I mention it's a pendant? It's a pendant. Possibly should have mentioned that before. Oh, and while we're mentioning things I've forgotten, I should possibly stamp the back before it's too late.
Stamp, stamp, stamp.
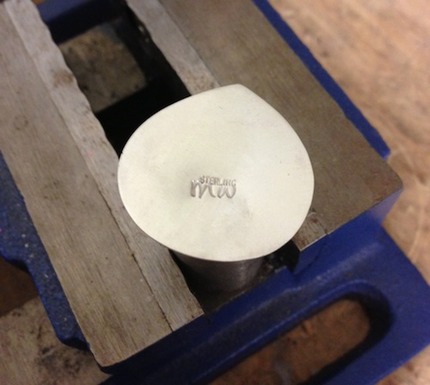
There, 'sterling', because that's the metal (though the bezel is fine silver). r n w because that's me. I'm almost managing to stamp the suckers straight these days.
So, if it's a pendant, it's going to need a bail to hang the chain through. I'm currently enjoying making hidden bails at the back so that the chain appears to be incorporated into the design, rather than just having a chain with a pendant dangling below it. So, where's my scrap pile?
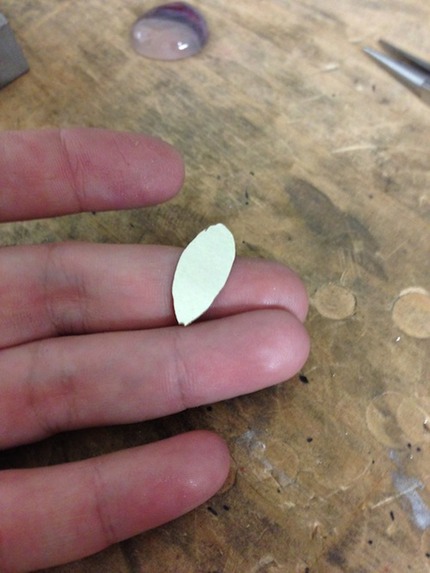
Rummage, rummage, ah, here's a likely candidate for a bail. File the edges until it's a nice smooth pointy oval type shape. Bend, hammer, tap, manipulate, a bit of swearing, and lo….
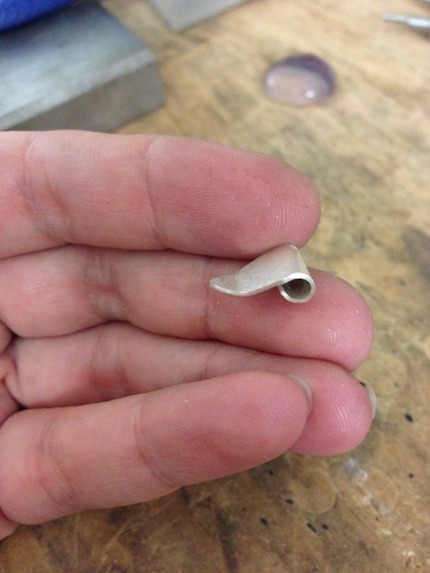
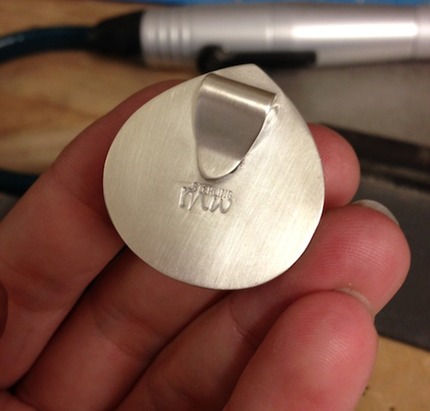
….a lovely little bail. That will sit on the back of the pendant like…...
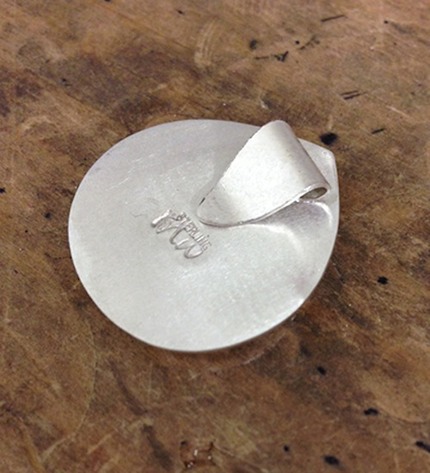
……this. Back to the soldering station to fix this on.
More flux, solder that bail top and bottom so that it's secure.
Quench in cool water because that metal is scorching!
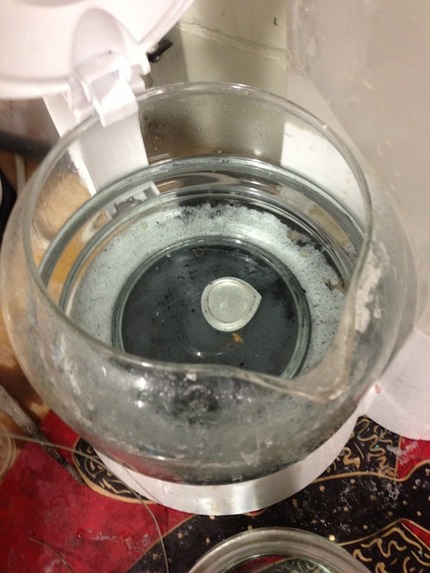
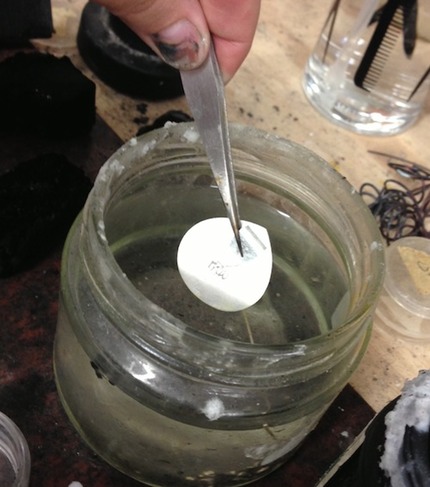
Pickle in my high tech pickle pot (aka $12 coffee dripolator from Kmart).
Check the solder joints and make sure that bail is secure. Because if it ain't, it's back I go.. (rinse, repeat, rinse, repeat).
It's secure. Things are going quite swimmingly today.
Now, the pieces are securely afixed. It's now time to sand, pre-polish and polish before setting the stone. This takes me a considerable amount of time before I've got it to a point where I'm happy to consider setting the stone. And a great deal of my frustration comes from this….
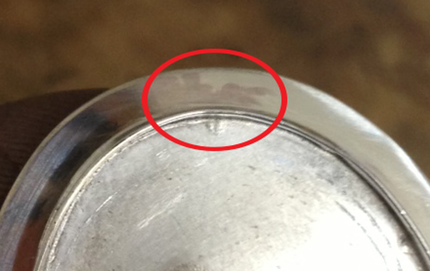
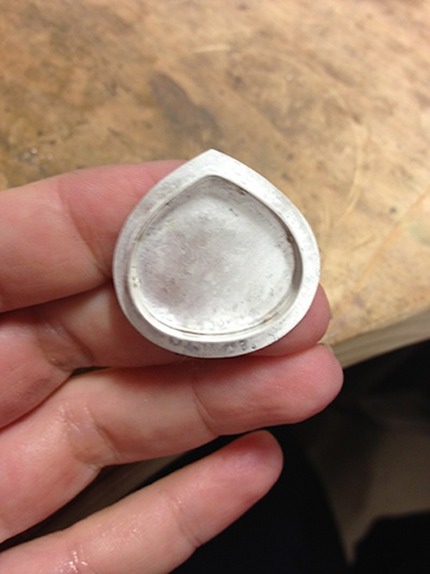
See that pinkish stain on the sterling silver? That's firescale. Sterling silver has a certain percentage of copper in its makeup, and this pink stain? It's the copper, rearing its ugly head on the surface.
I hate thee, firescale. I find some, sand it off, get to pre-polish and then I find some more. It seems to only show up in certain lights. It's a sneaky little devil, but rest assured, if I don't find it all and sand it off, it will show up at the final polish. And then back several steps I have to go - sand, pre-polish, polish again. Firescale and I, we're on the outs. But I will sand and sand until I have defeated e-v-e-r-y single bit. Because a pink shadow on white silver is not my cup of tea.
Right, firescale gone (I think), off to the tripoli wheel. This is the 'pre-polish', the final step before final polish. Yep, firescale all gone this time, this step would show any up if I'd missed it.
Now, what to decide on finish for this pendant?
I think a satin finish would be lovely for the front and back. I particularly like to finish the back in satin. It's such a big flat surface that fingerprints seem to multiply on it like magic. A satin finish sorts this out, but still leaves the silver finish silvery. The front gets a satin treatment too (I've got a fabulous wheel on my buffing machine that looks a bit like scotchbrite that delivers a great satin finish), but I like to bring the edges back up to a high polish. For contrast. I like a little contrast. Life is dull without it.
The setting is polished. Now, and only now, can I set the stone.
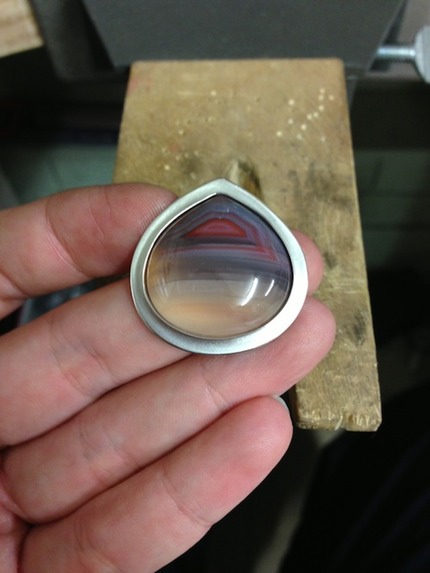
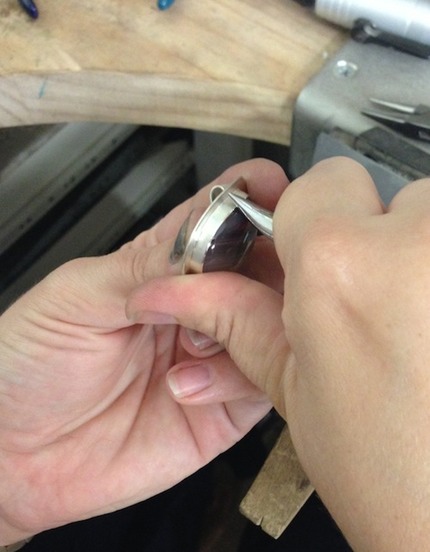
Pop the stone into the finished setting. Now it's time to push the bezel over to keep the stone secure.
Push, push, push. Poke prod. Slow and steady wins the race.
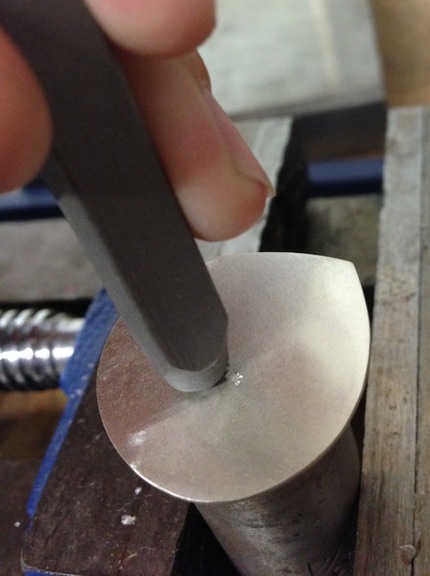
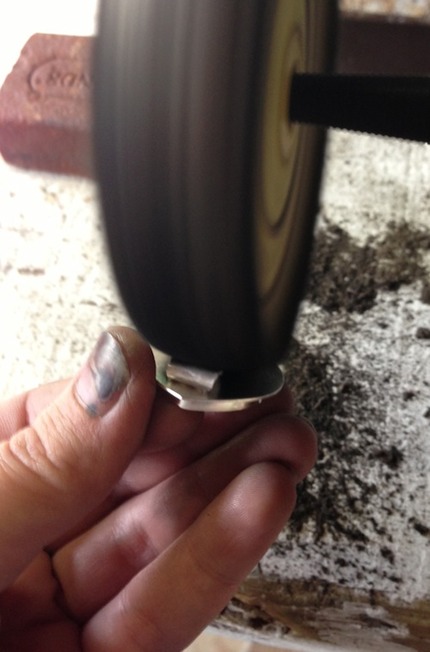
There, the stone is secure in the setting. But to really stop the stone from wobbling and to give a polished finish, I need to burnish the top of the bezel.
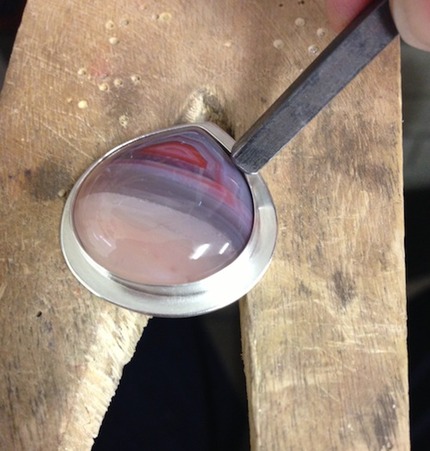
Rub, rub, rub. The highly polished steel of the burnisher (that pointy thing I'm holding) rubbed against sterling silver creates a highly polished finish. Round and round and round we go until the whole bezel edge looks like….
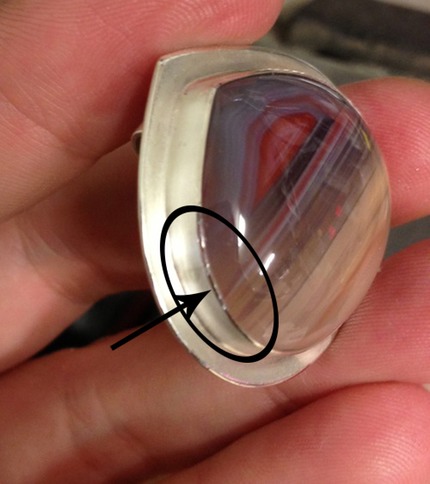
…this. Can you see it, that shiny edge? I've still got some work to do yet though.
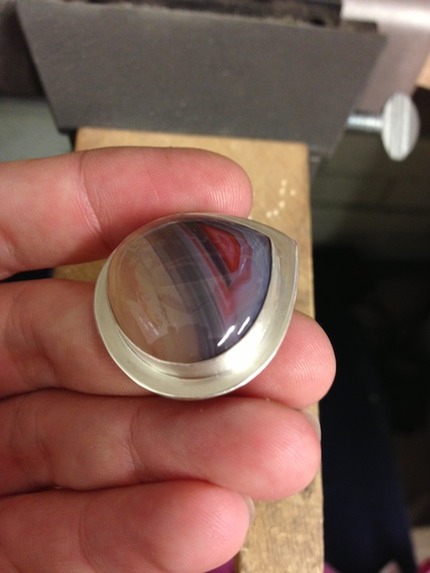
Rub, rub, rub.
There, finished.
Check the back. Nice satin finish. Hmm, there's a bit of grub on the side of that bail, still some cleaning to do.
I'll do that in a minute, time to organise the chain. And a chain needs a clasp of some description. I like to make a handmade clasp if the design suits one.
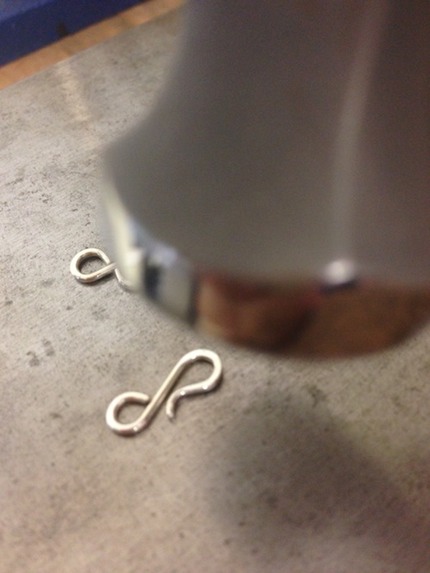
Make a S hook and clasp for the chain. Bend, shape, hammer hammer hammer. Polish. Thread chain through the bail and…….
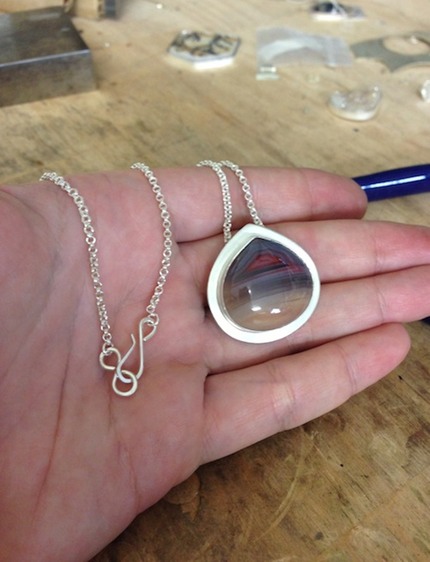
…..it's done!
Right, not, finished yet. It's time to get some photographs for posterity and the website. This is the mind-stultifying part *sigh*.
Many hours of photography later (insert swearing at camera, cursing at computer here too) and….
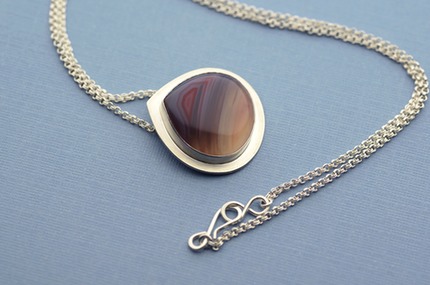
She looks pretty neat.
'Queensland agate necklace in sterling silver, with double link chain and handmade clasp.'
So many steps, so much work, all rolled up into one little title and promotional photo.
And several weeks later, I *finally* get her up in the shop here.
El x
